
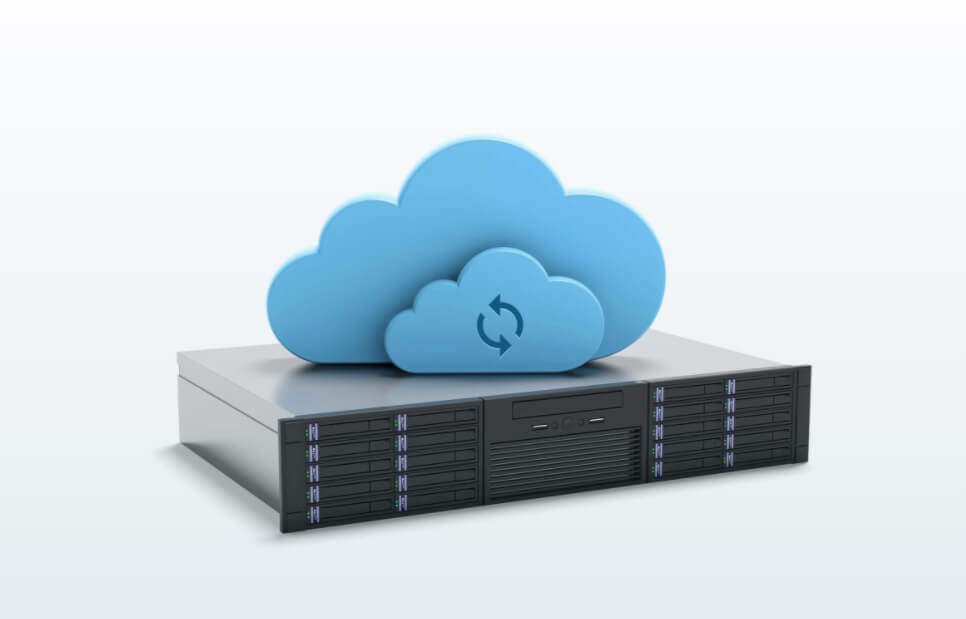

So you’ve upgraded to a new computer. Congratulations. Now you have to decide what to do with that old computer. Give it to your parents? Reenact your favorite scene from Office Space? How about you turn that piece of junk into a Network Attached Storage (NAS) device running BitTorrent Sync. It may not play Crysis, but it will provide you with a plethora of options including FTP, redundant storage, and most importantly, BitTorrent Sync.
If you aren’t familiar with BitTorrent Sync, you can read up about it here. In a nutshell, it allows you to sync folders between machines using P2P. No cloud necessary. Sync never stores your data on a stranger’s computer. Only people with access to your “Secret” can store your data. Interested? Lets get started.
Here is what you’ll need for this project:
- An old computer with a 64 bit processor (recommended)
- At least one hard drive in the computer
- 4GB or larger thumb drive
- At least 4GB of ram (recommended)
- CAT5 cable
Booting up FreeNAS:
First you need to get FreeNAS up and running on your old machine. This is actually a lot easier than you may think. Download the image from here.
This tutorial was written using FreeNAS-8.3.1-RELEASE-p2. Copy the image to your thumb drive using the instructions on this page.
Make sure you have an ethernet cable running from your computer to your router. Then plug your thumb drive into your computer and turn it on. Set your BIOS to boot to that thumb drive by default and then let your computer boot up. This will take a few minutes.
After FreeNAS is done booting up, you will see a few options and an IP address/URL. For example: 192.168.1.2. Enter that IP address into a browser on a different computer on the same network. This will bring you to the GUI that you see pictured below.

FreeNAS Initial Setup
You should see an alert in the top right. If you click on it, it will tell you to set your admin password. To do this, navigate to the left column and select: Account > Admin Account > Change password.
Next you need to configure your hard drives. This will wipe all data, so backup anything you want to keep. Go to: Storage > Volumes > Volume Manager. Select your disks, provide a volume name (I’m using the name “NAS” for this tutorial), select ZFS and add the volume. There are other options here that I am skipping, and I’d encourage you to read up if you are interested in more advance options.
Now lets set the proper permissions for this new volume. Go to storage > volumes. Find the volume you just created and click on “change permissions”. Check all the boxes, select “set permissions recursively”, and click “change”.
You’ll need a few new datasets before moving forward. Go to Storage > volumes > view volumes. Create two new datasets for your new volume. Call the first one “data” and the second one “sync”.
The next step is setting up a CIFS share. I chose CIFS because it works with both Mac and PCs. On the left column, navigate to Sharing > CIFS shares > Add Windows CIFS share. Give the CIFS share a name, select the “data” folder for the path and allow guest access.
Your volume should now appear as network storage to any computer on your local network. If all you want is NAS storage, you can stop here. If you want to unlock the real potential of your NAS drive, then read on.
Setting Up BitTorrent Sync
Open up shell from the left column. If you are comfortable with SSH, you can do that instead. Change directories to the sync folder:
cd /mnt/NAS/sync
Download BitTorrent Sync:
fetch "http://btsync.s3-website-us-east-1.amazonaws.com/btsync_freebsd_x64.tar.gz"
Extract the files:
tar -xzf btsync_freebsd_x64.tar.gz
To run Sync, you can simply enter: ./btsync. To make things easier, lets make Sync run on startup.
For the next few steps, you’ll need to make modifications to the file system. To do this, type:
mount -uw /
Next lets add a script to rc.d. This script is slightly modified from forum contributor Dalys.
cd /conf/base/etc/rc.d
touch btsync
nano btsync
After the last command you’ll be able to edit the new btsync file. Copy and paste the text from below:
#!/bin/sh
#
# PROVIDE: btsync
# REQUIRE: LOGIN DAEMON NETWORKING
# KEYWORD: shutdown
#
# To enable BTSync, add this line to your /etc/rc.conf:
#
# btsync_enable="YES"
#
# And optionally these line:
#
# btsync_user="username" # Default is "root"
# btsync_bin="/path/to/btsync" # Default is "/usr/local/sbin/btsync"

. /etc/rc.subr

name="btsync"
rcvar="btsync_enable"

load_rc_config $name

required_files=$btsync_bin

: ${btsync_enable="NO"}
: ${btsync_user="root"}
: ${btsync_bin="/usr/local/sbin/btsync"}

command=$btsync_bin

run_rc_command "$1"
ctrl+o and ctrl+x to save and exit
Now make this new file executable:
chmod ug+x /conf/base/etc/rc.d/btsync
Finally, enter:
nano /conf/base/etc/rc.conf
and add the following to the bottom of the file:
# BitTorrent Sync
btsync_enable="YES"
ctrl+o & ctrl+x to save and exit
BitTorrent Sync will now start automatically whenever you reboot FreeNAS. You can access it from any computer on your network by entering your.ip.address:8888/gui into the browser on any computer on your network. For example: 192.168.1.2:8888/gui

Done. That wasn’t so hard, right? This is WAY better than donating your old computer to your parents. There are so many useful and creative ways to use BitTorrent Sync once you have it set up on a local NAS drive.
If you’d like to see what some of our community members are doing with BitTorrent Sync, check out our forums.


